Hiiiya, how are you all? I can’t believe how fast December and Blogmas is flying past us. I have some of my favourite posts coming for you before the end of the month … I hope you’re excited.
For today’s post I will be sharing the 5th part to my Star Sign Makeup Look Series and today’s sign is Sagittarius. Considering it’s Sagittarius season, I thought it was fitting to pick this series back up with it. You’ve probably been expected more Christmassy/ party makeup looks from me having only done one so far this Blogmas, but I have loads of looks coming for you before the end of the month! Shall we see what I created for this Star Sign then?

As always I was using my trusty birthdaycelebrations.net table to give me all the inform I needed to create this look. After looking into the related colours of Sagittarius, I saw that it’s main colours were Denim Blue, Beige and Bronze, it’s main stones were Turquoise, Amethyst and Citrine. This gave me the idea to head for the Beauty Bay MMMMitchell palette as it has some gorgeous bright colours and perfect foiled shadows too. As I was going to be using such a dark blue, I did wonder which colour I was going to be able to blend it out with. But, one of Sagittarius’ main plants/ shrubs is Asparagus so a green it was. With being a fire sign, this gave me the idea to use the most gorgeous red as well as the bronzey shimmer in the palette to make it look a little bit christmassy!
Products I Used:
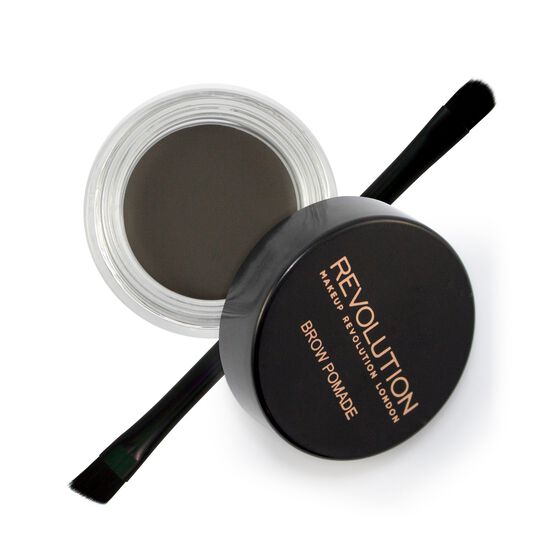
- Revolution PRO Brow Pomade – Graphite
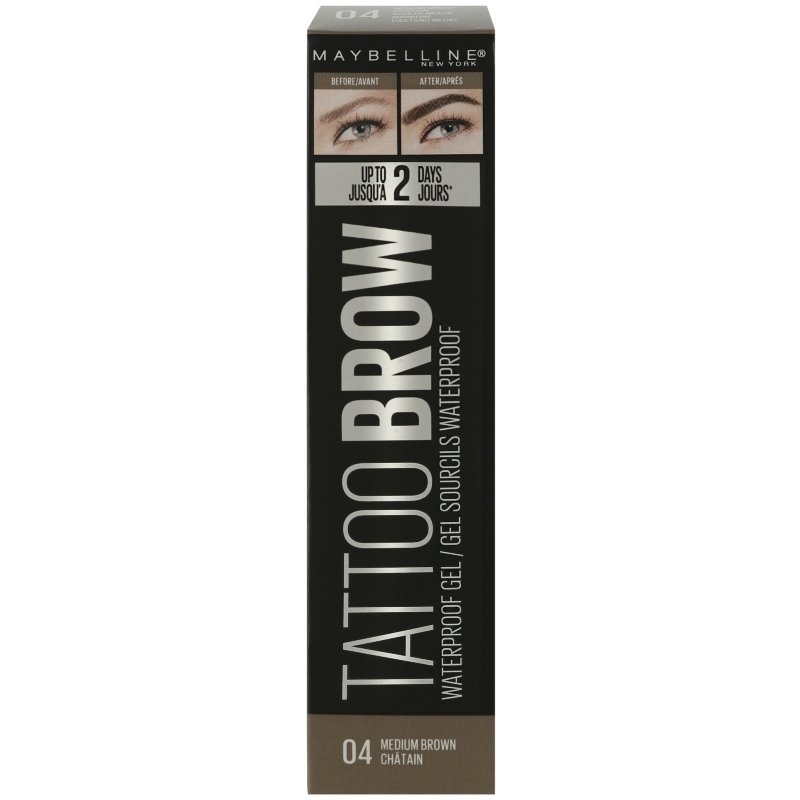
- Maybelline Tattoo Brow – Medium Brown
- P. Louise Base – Shade 1
- Beauty Bay – Me, Myself and MMMMitchell Palette
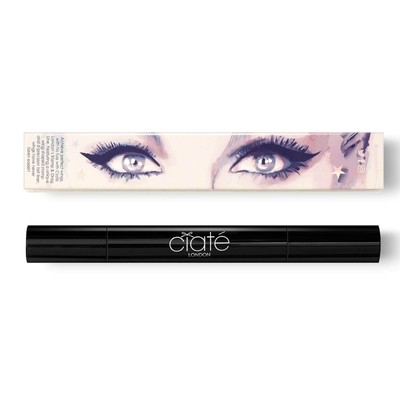
- Ciate – Stamp & Drag Liner
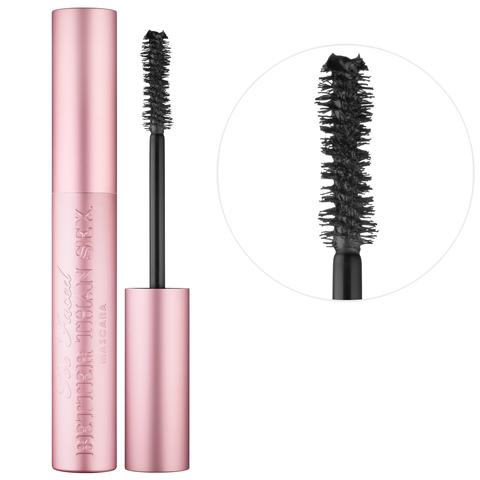
- Too Faced Better Than Sex Mascara
- NYX Wonder Pencil – Light
- Koko Lashes – Fifth Avenue
How did I create this look then? Before I start any look, I do my brows because they can be a chore, especially when you’re itching to get on with the eye shadow. For my brows I used my trust Revolution PRO Brow Gel in Graphite and set them with the Maybelline Tattoo Brow in Medium Brown; this combo is really good for creating thicker looking brows without them looking sharpie like. Moving on to the bit you’ve all been waiting for… the eyes. To prime my eyes, I’ve been using the iconic, very hyped P. Louise Base in the lightest shade and set that in place with Modest from the MMMMitchell Palette. Setting your base is the best way to start an eye look because it’s easier to blend the shadows on a matte base and it also prevents creasing. I went straight in with a small blending brush and blended Mardy in to my crease whilst using a mix of Miracle and Mist to blend it all seamlessly. I kept building those colours up until it looked pigmented enough for me to cut the crease. I cut the crease with the P. Louise Base about 3/4 of the way across the lid and applied Meaty on top. On my lower lash line I used a mix of Monday and Meh and then used Marine as my inner corner and brow highlight, but I decided to connect them and make it a bit like a reverse cut crease. (Although, you can’t really see this in the images) Minty is a gorgeous shimmery white, but has blue reflects which really tied this whole look together nicely. I finish the look, I used the Too Faced Better than Sex Mascara, lined my waterline with the NYX Wonder Pencil and popped my knew fave lashes on; the Koko Lashes in Fifth Avenue. And here we have the final look, I wanted to follow the signs colours elements and colours whilst still making it look a little christmassy; as you can see, lock down brows are still going strong!!
The Look:

Although it’s been quite a while since I played with some makeup, I’m actually really please with how this look turned out. It can get quite difficult to come up with different looks when my go-to is a cut crease but after getting back into doing makeup again, I am really inspired and excited to continue this series. I know it’s been a while since I did the previous look in this series, but from now on I’m going to do one at least a month. Anyway, thank you so much for taking the time to read this post, I hope you love how the look turned out, as much as I did. If you recreate this look please tag me on Instagram, I’d love to see them.
Shop this Post:


These looks are creative! Love this series!
Katie | katieemmabeauty.com
Oh Luci this eyeshadow look is incredible! Just gorgeous! Oh I love it! <3 Luci you are so good at makeup.
I need to keep playing around with my makeup more. It’s so much fun. Also need to take more pictures of my makeup too!
Ellie xx